 Arignote Timetable
How It Works
Creating a school timetable with Arignote is a straightforward four-step process. From your first login to a printed schedule takes most schools less than a day — often just a few hours.
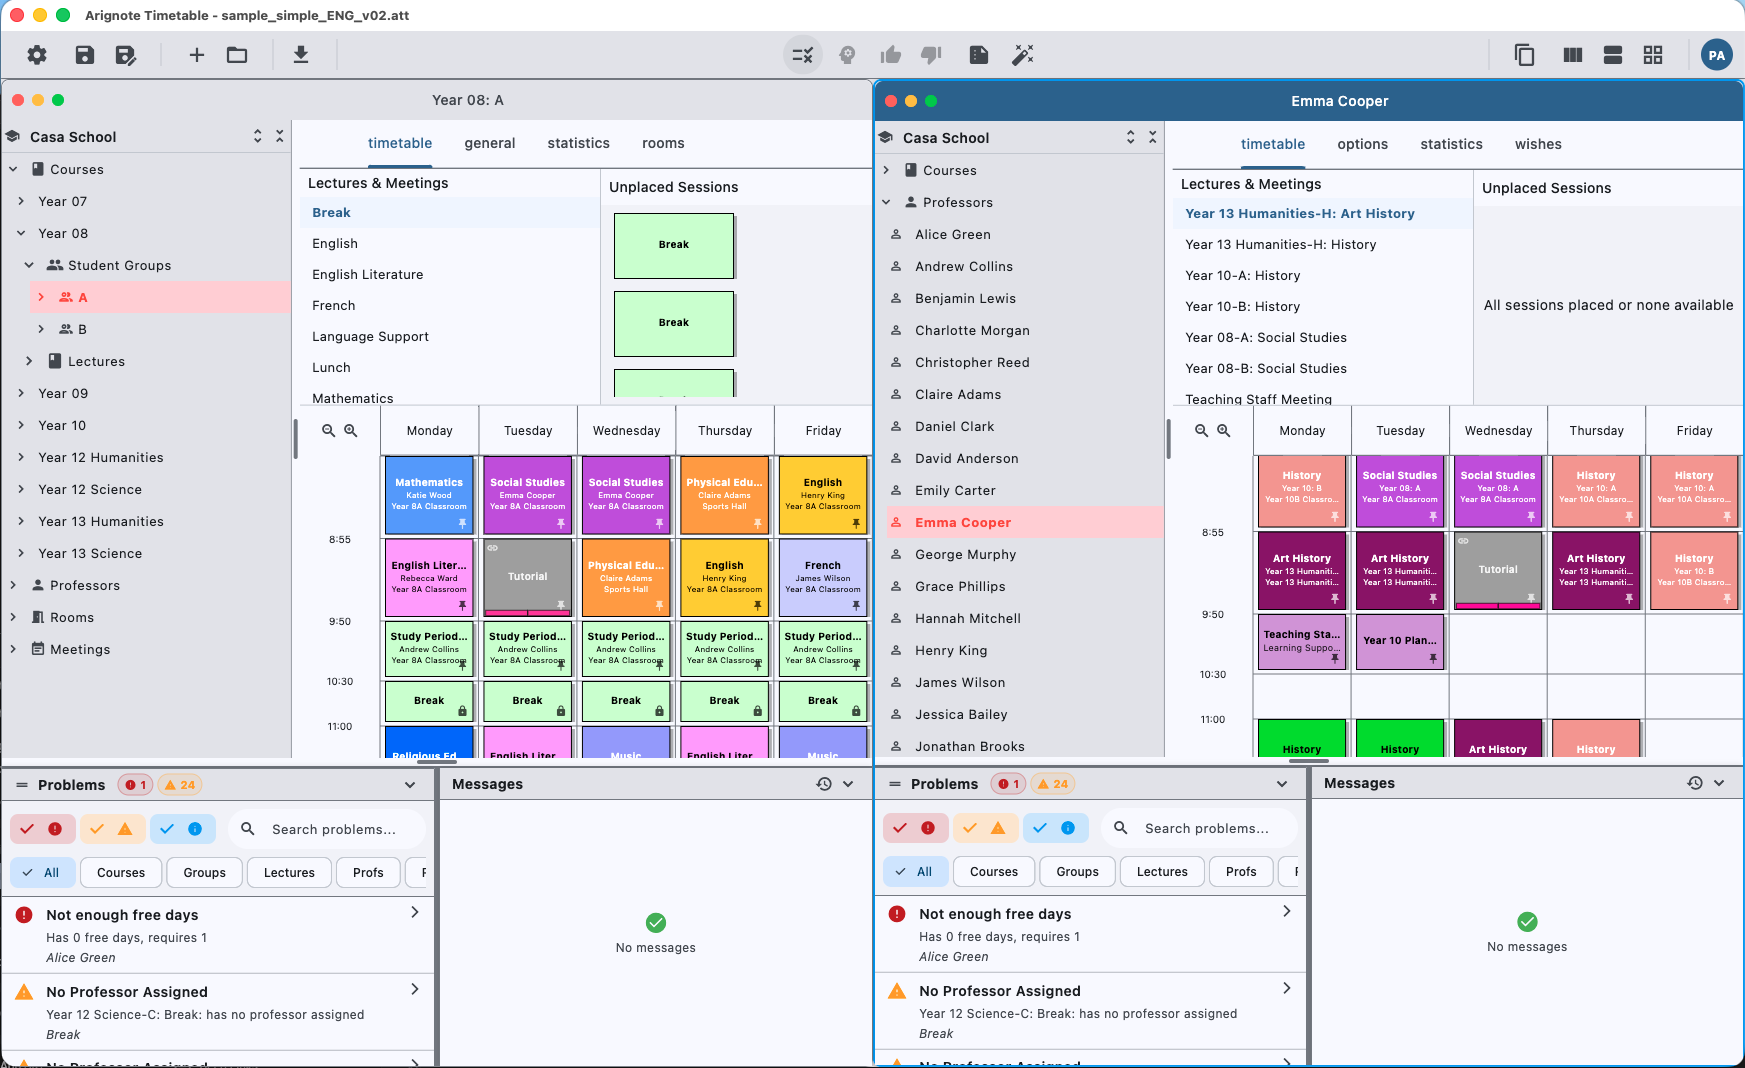
Step 1 — Set up your school
Start by entering the building blocks of your timetable. The order does not matter — you can add and edit entities at any point.
- Add your professors with their subjects and availability
- Add your rooms with their capacities and categories
- Create your courses and assign them to student groups
- Define course lectures — how many sessions per week, how long each session
Most schools import their data in under an hour. For subsequent terms, you start from a copy of the previous timetable and only update what has changed.
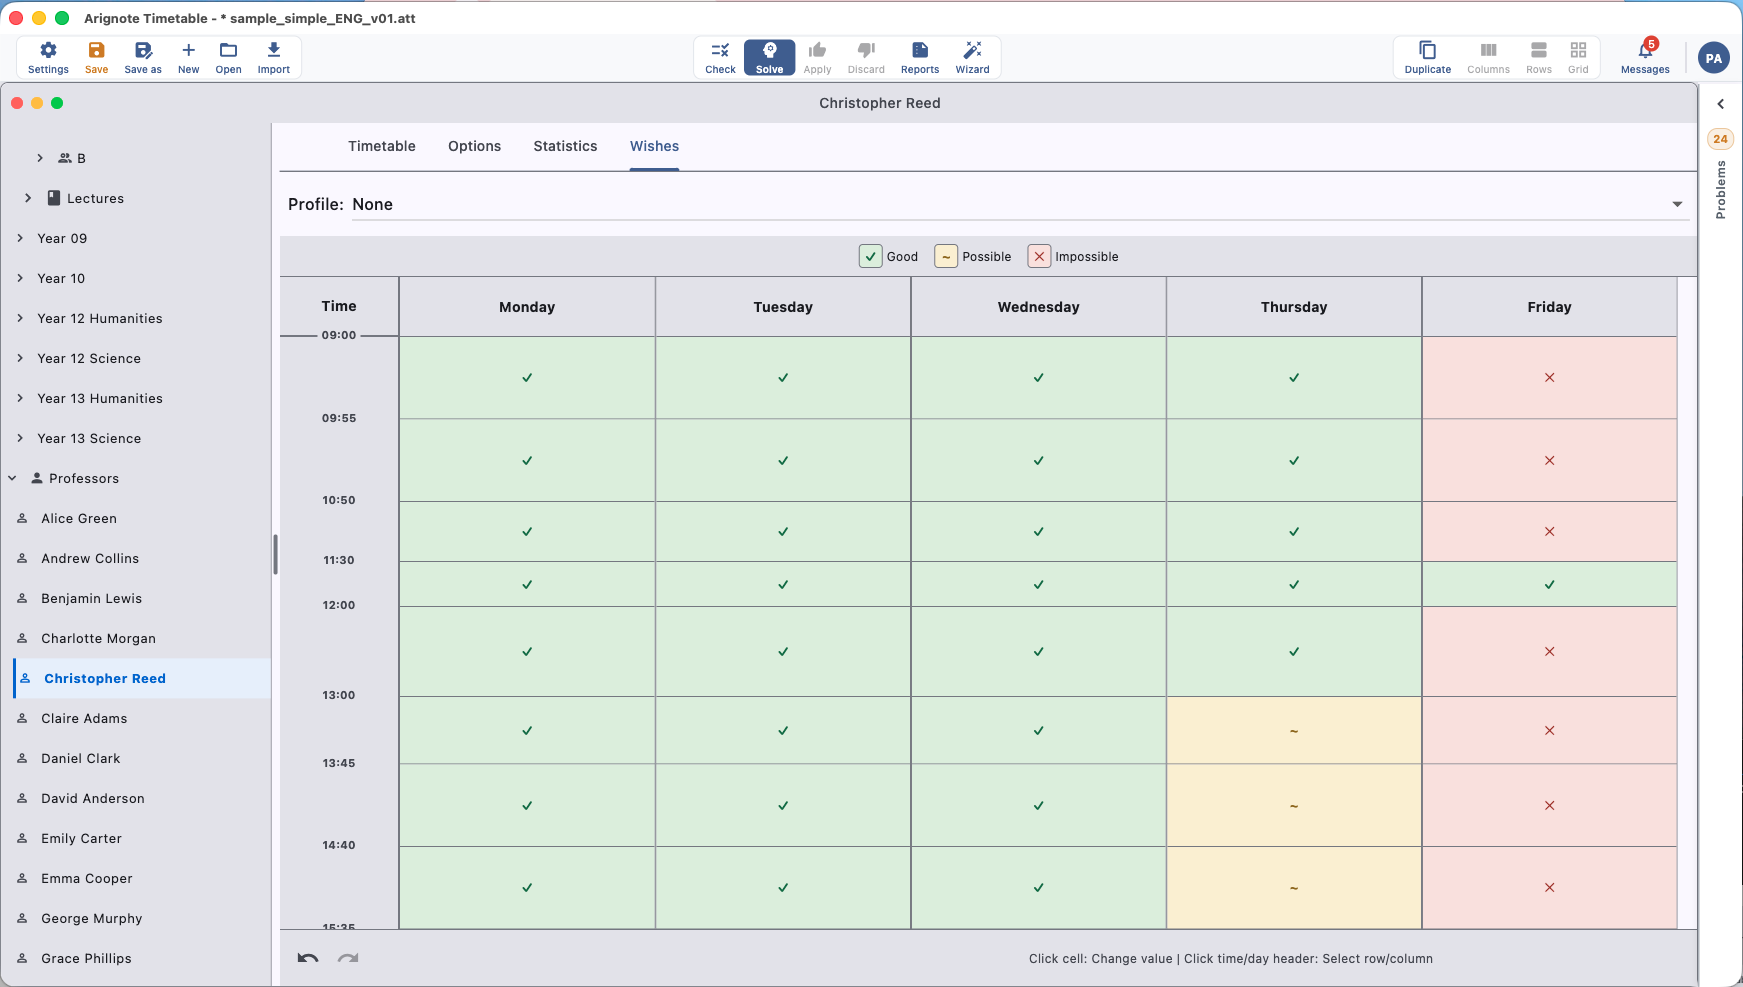
Step 2 — Define your constraints
Constraints are the rules your timetable must satisfy. Arignote distinguishes between hard constraints (rules that must never be broken) and soft constraints (preferences the solver tries to honour).
Hard constraints
These are automatically enforced by the system — you define them by entering your data correctly. For example: a professor's availability window is a hard constraint; a room's capacity is a hard constraint; a course lecture's required frequency is a hard constraint.
Soft constraints (wishes)
Wishes are preferences that the solver will try to satisfy but can trade off against each other to find a feasible solution. Examples: a teacher prefers not to teach in the first period on Mondays; a class should not have the same subject twice in a row; a specific room is preferred for a language course.
Step 3 — Run the solver
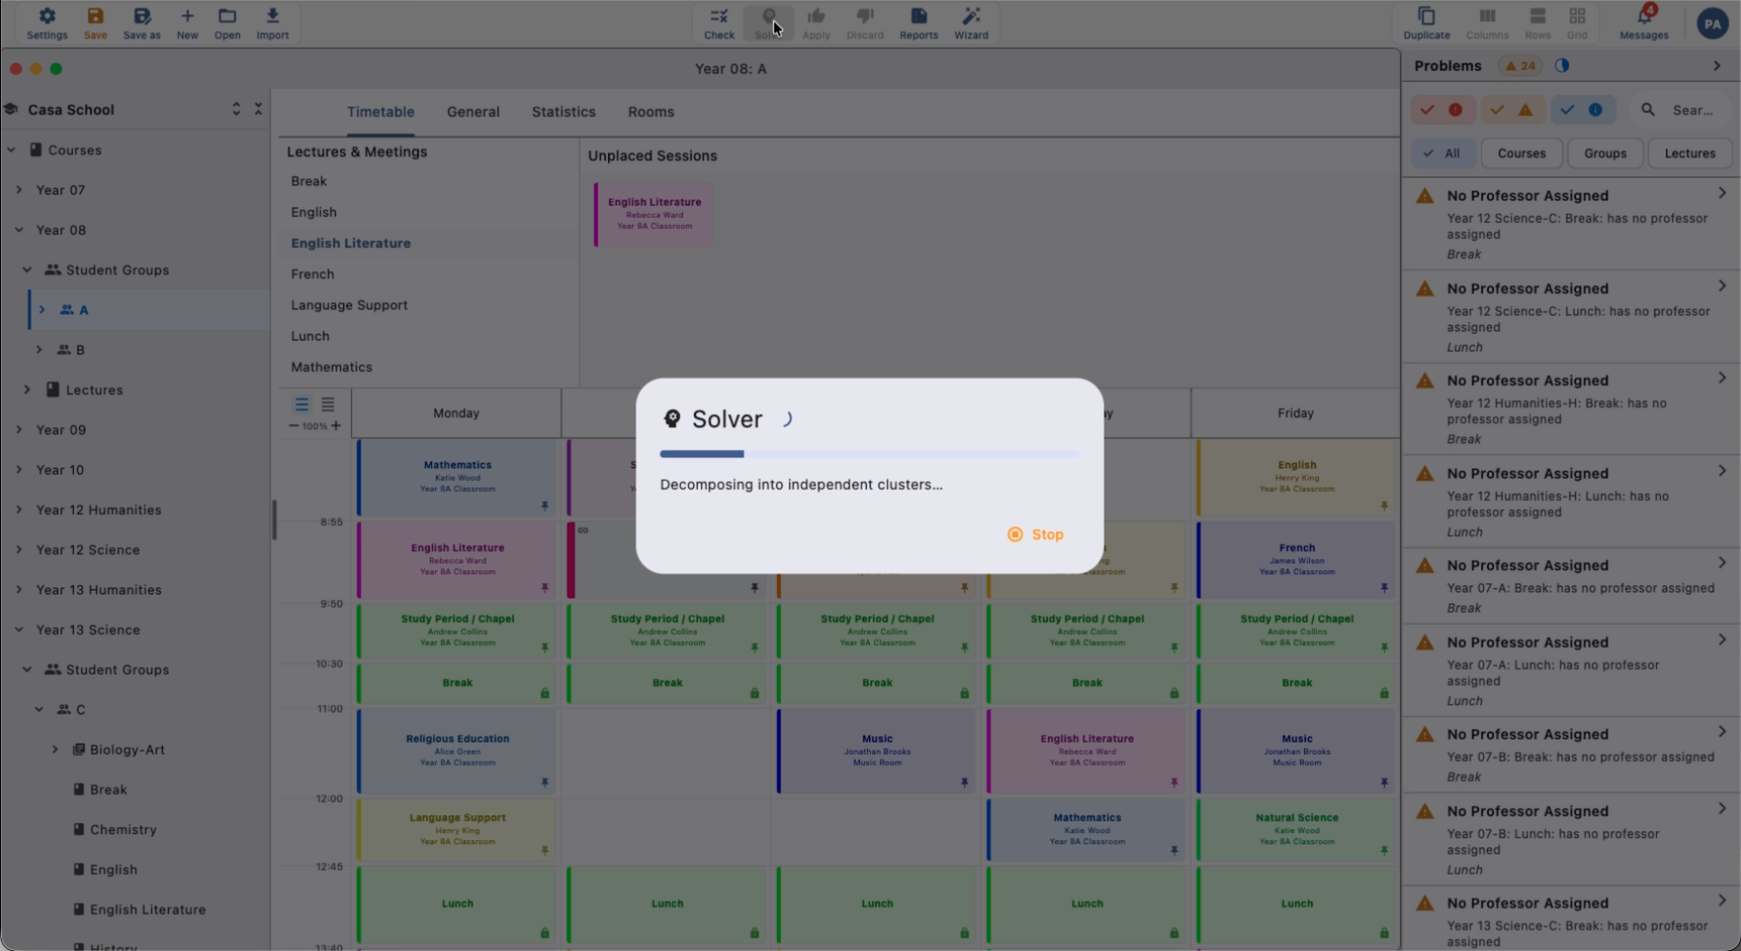
With your data entered, press Solve. The solver analyses all your constraints simultaneously and constructs a timetable that satisfies every hard constraint and as many soft constraints as possible.
Internally, the solver uses a decomposition algorithm: it builds a constraint graph from your data, detects natural clusters using community detection, and solves each cluster independently before assembling the full solution. This approach makes large, complex timetables tractable in seconds rather than hours.
Step 4 — Review, adjust, and export
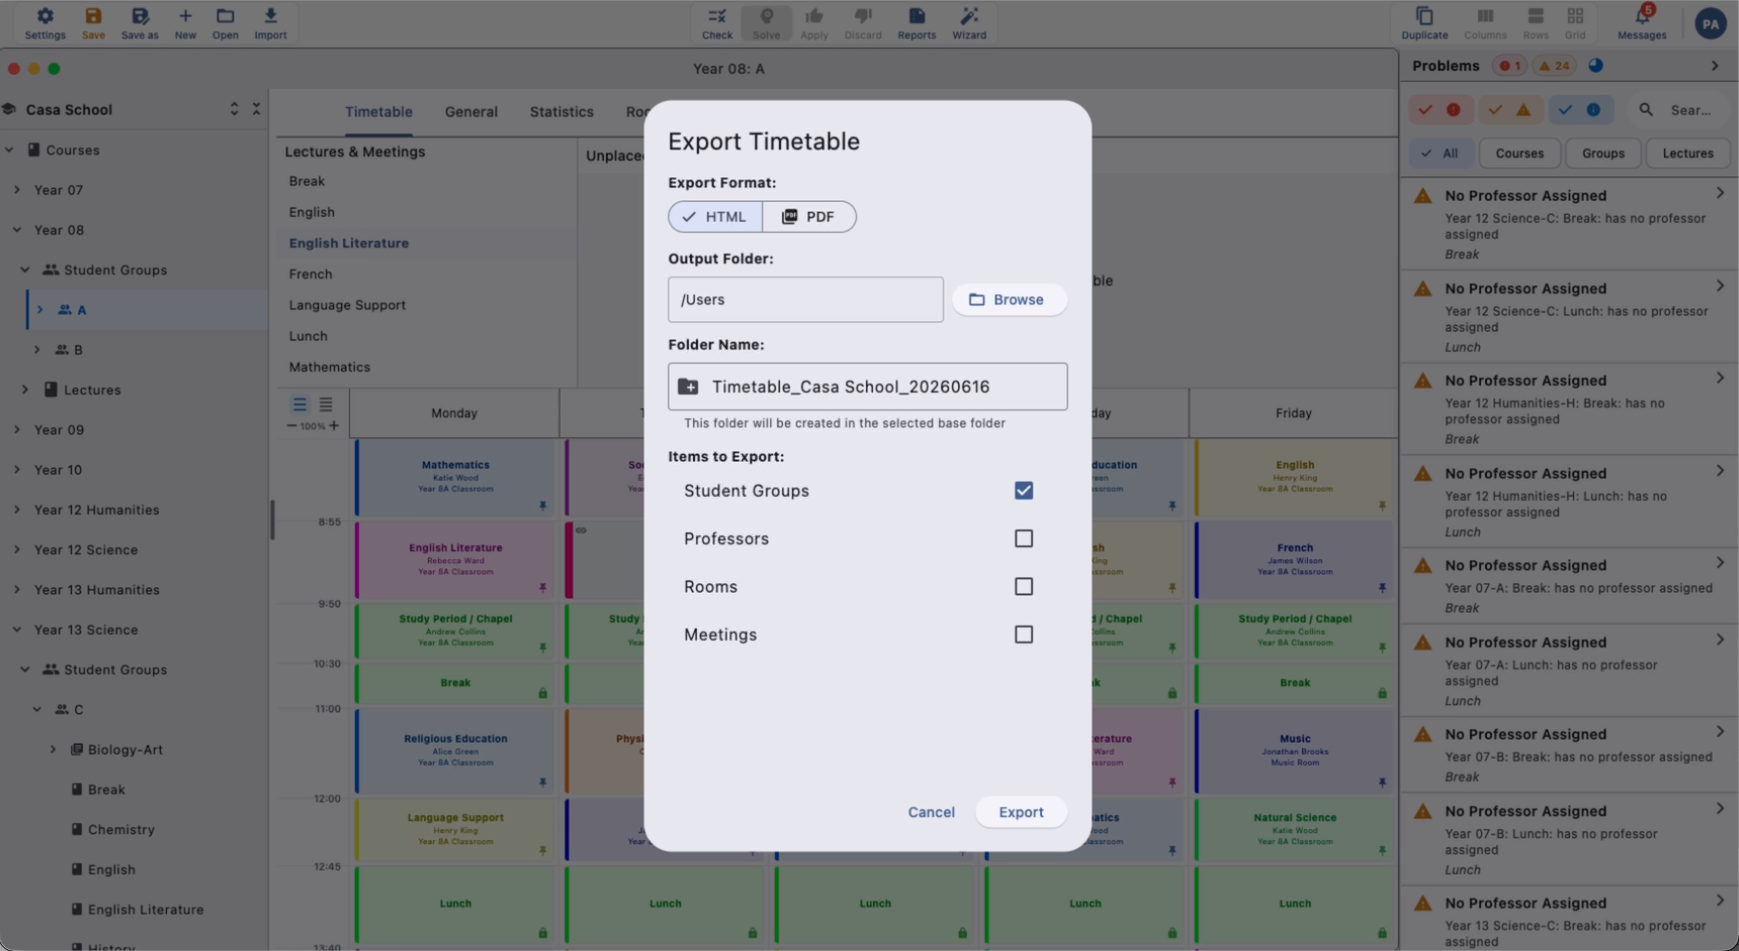
Once the solver finishes, review the complete timetable in the grid view. You can manually move sessions — the conflict detector will immediately flag any violations. When you are satisfied, export with one click.
- Grid view — see the full week at a glance, filtered by teacher, room, or class
- Conflict panel — every remaining issue listed with an explanation
- Manual adjustments — drag sessions, change rooms, reassign teachers
- Re-solve — made a structural change? Re-run the solver in seconds
- PDF export — one file per teacher, room, or class, ready to print
- HTML export — publish the complete timetable to your school website
How long does it take?
- Small school (< 20 teachers, < 200 sessions) — solver completes in under 30 seconds
- Medium school (20–60 teachers, 200–600 sessions) — typically 1–2 minutes
- Large school (60+ teachers, 600+ sessions) — typically 3–5 minutes
- Re-solving after a minor change — usually under 30 seconds regardless of school size